There’s something exceptionally relaxing about the soft, warm radiance of homemade beeswax candle lights, particularly in the evening after the littles are in bed However the golden radiance and long burn time are simply the start of a handcrafted beeswax candle light’s appeal. Unlike paraffin candle lights– which release carcinogens like toluene and benzene into the air— they burn tidy and brilliant while launching a faint honey fragrance.
Even much better, making beeswax candle lights in your home– either as a gift or on your own– is little bit more than a melt and put procedure.
In the tutorial listed below I’ll reveal you simply how simple it is. However initially, let’s discuss a few of the most typical candle light making concerns:

Can I include important oils?
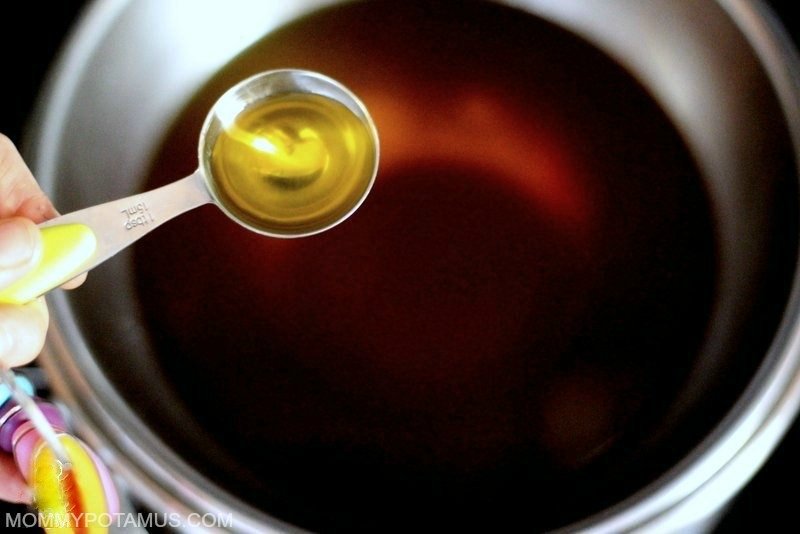
Yes, you can, nevertheless beeswax does not hang on to scent along with some other waxes. Because of that, I mix a little coconut oil into my candle lights to offer the fragrance more remaining power. Even with the addition of coconut oil, I have actually discovered that just extremely strong aromas (peppermint, lemongrass, vetiver and so on) succeed in Do It Yourself beeswax candle lights.
Thankfully, the majority of beeswax smells faintly of honey, which is wonderful all by itself or when mixed with important oils.
( Likewise, fast note: If you are preparing to burn the candle lights around kids make certain that the essential oils you select are kid-friendly – here’s a list to get you started)
What sort of beeswax should I utilize?
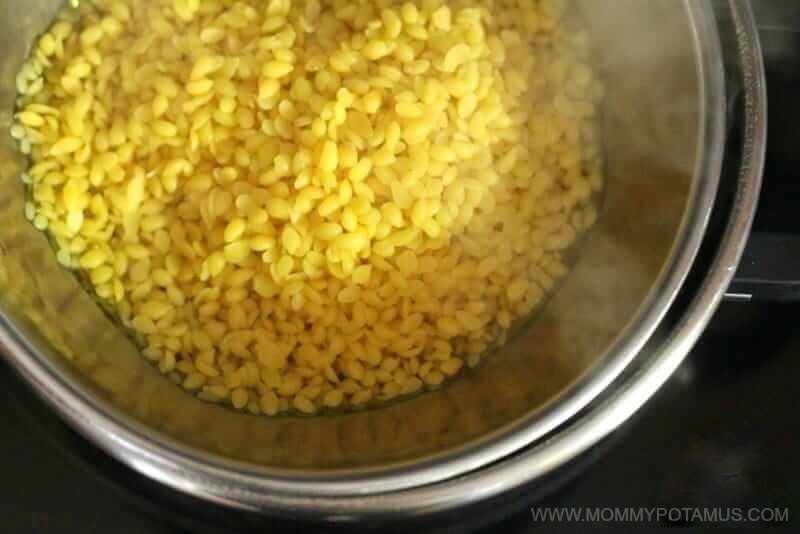
For this tutorial you’ll require one pound of beeswax, which can be in the kind of beeswax pellets or an entire block that you shred with a cheese grater. If you have a regional beekeeper that offers raw beeswax, you can utilize these steps to filter it for candle light making.
Another choice is white beeswax The majority of what you’ll discover on the marketplace is bleached, however the one I connect to is lightened with no chemical at all. (They utilize the sun, air and wetness.)
The number of candle lights will this dish make?
This dish makes roughly 24 ounces, which will make 2 12 ounce candle lights, 3 8 ounce candle lights or 6 4 ounce candle lights. Or you can blend things up– today I made one 12 ounce candle light, one 8 ounce candle light, and one 4 ounce candle light utilizing this dish.
Here are a few of my preferred containers to utilize for this job:
12 ounce glass container alternatives
8 ounce glass container alternatives
4 ounce glass container alternatives

How to Make Beeswax Candles
Making your own beeswax candle lights is much easier than you may believe! Here’s my easy, reliable technique for developing honey-scented candle lights with a warm, soft radiance.
Directions
-
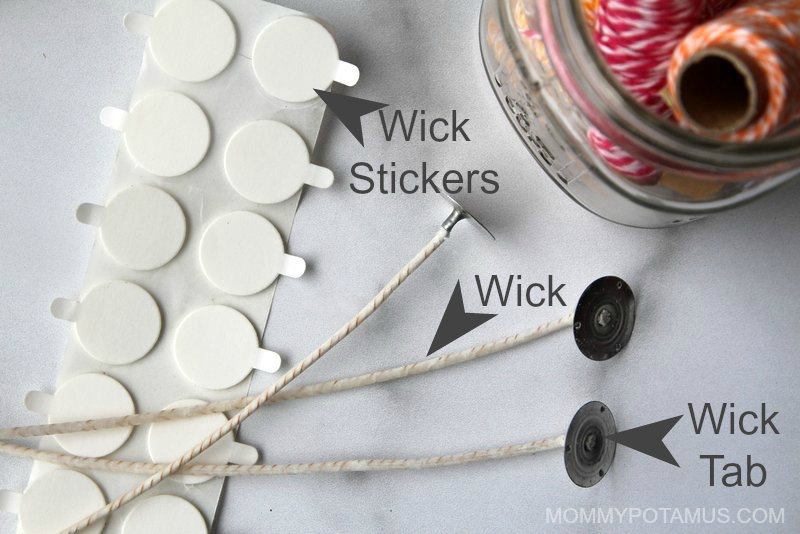
Get your wick (with wick tab connected) and wick sticker labels)

-
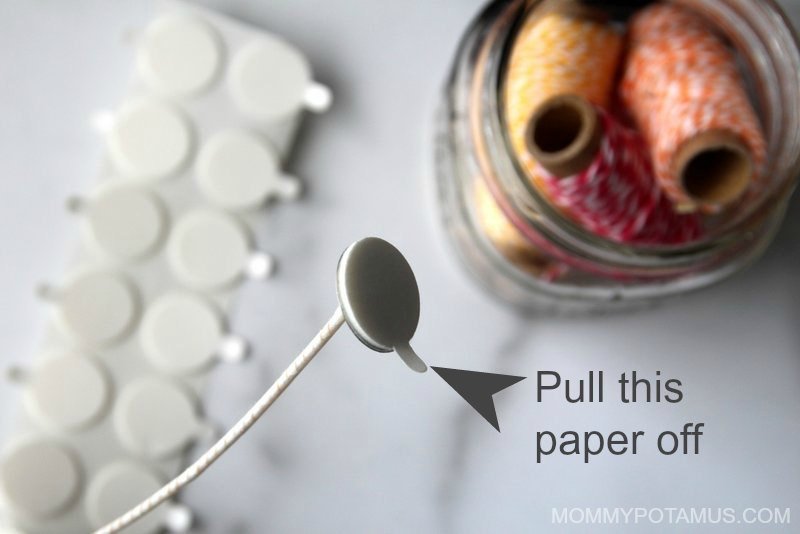
Pull among the wick sticker labels off the roll and location it on the wick tab, then peel the paper off the exposed side of the wick sticker label.
-
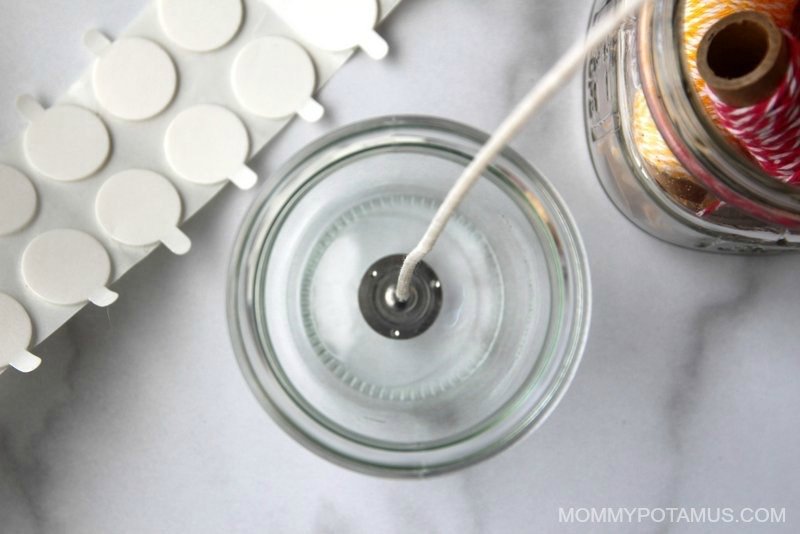
Connect the wick down center of the container.
-
Melt wax and oil in a double boiler. If you do not have a double boiler, you can produce one by positioning one inch of water in a pot, positioning a smaller sized pot or stainless-steel bowl within, and bringing the water to a low simmer on your range top.
-
When the beeswax is melted, include important oils if preferred.
-
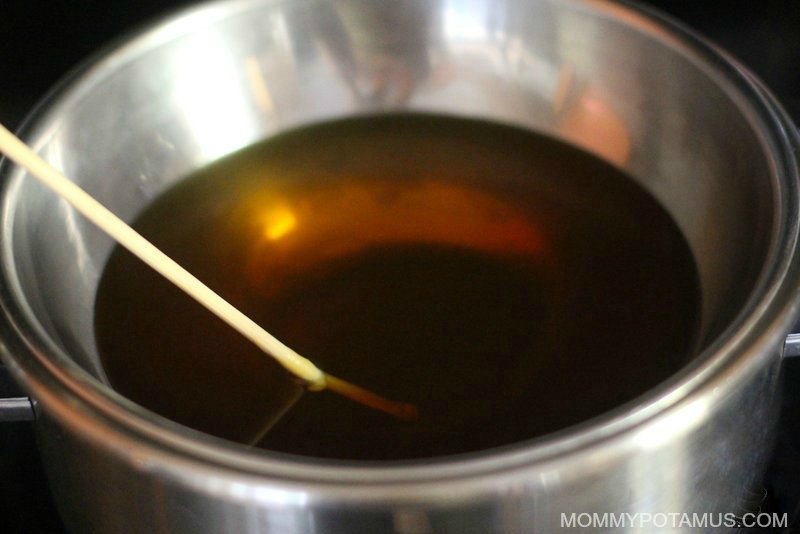
Stir the melted beeswax, coconut oil, and important oils (if utilizing) together. I utilize a wood slice stick that I keep simply for this function so I do not need to clean it.
-
Pour wax into the glass containers.
-
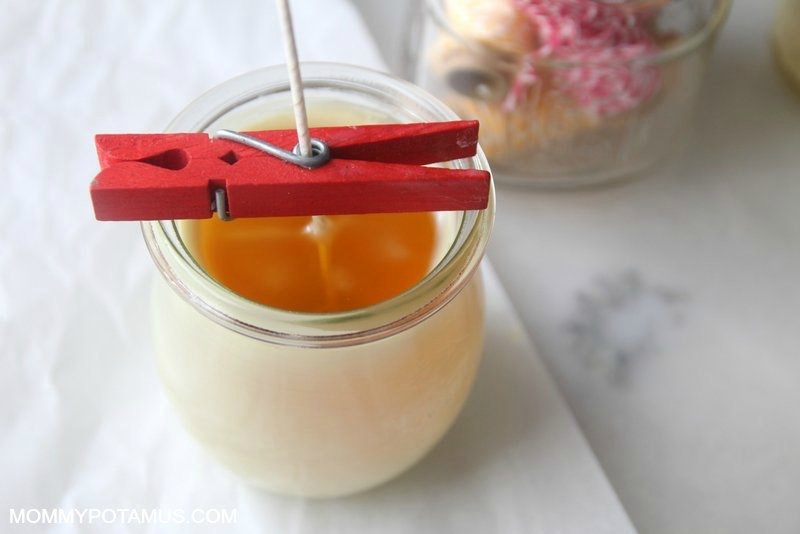
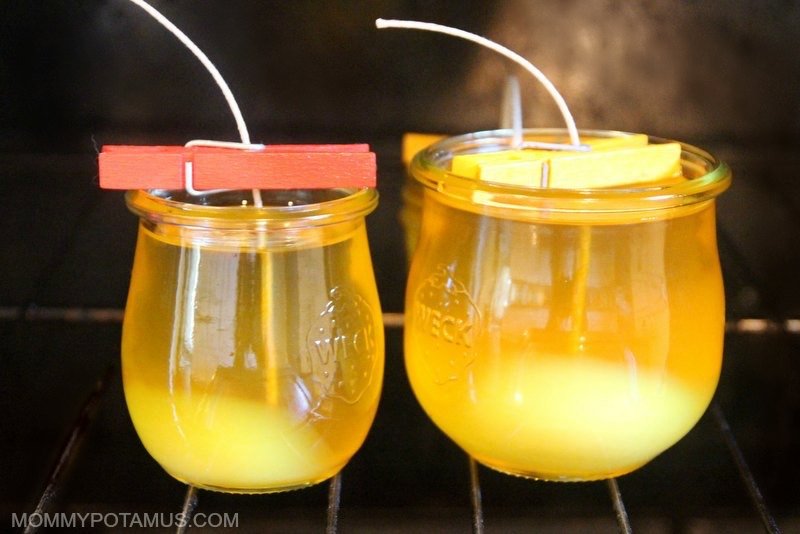
Set the wick so that it remains in the center. You can do this by positioning a pencil, straw or wood skewer throughout the container and taping the wick to it, or utilize my preferred technique, which is to thread the wick through the center of a clothespin.
-
Location the candle lights in a warm location to solidify, since if they cool too rapidly the wax will in some cases split. I normally pre-heat my oven to 170 F while I’m putting the candle lights, then turn the oven off and position them within.

Notes
FREE eBook: Do It Yourself Body Care Present Made Simple
Do you wish to compose “Made with love” on stunning, handmade presents for friends and family, however NOT investing a lot of time on them since your life is currently complete?
Then I ‘d like to offer you a complimentary copy of Do It Yourself Body Care Present Made Simple– my detailed guide to making stunning handmade presents without worrying yourself out– as a present for registering for my newsletter. I’ll reveal you how to make classic labels, glamorous cream bars, lip balms, sugar scrubs, body sprays and more like a pro. Do not lose out!